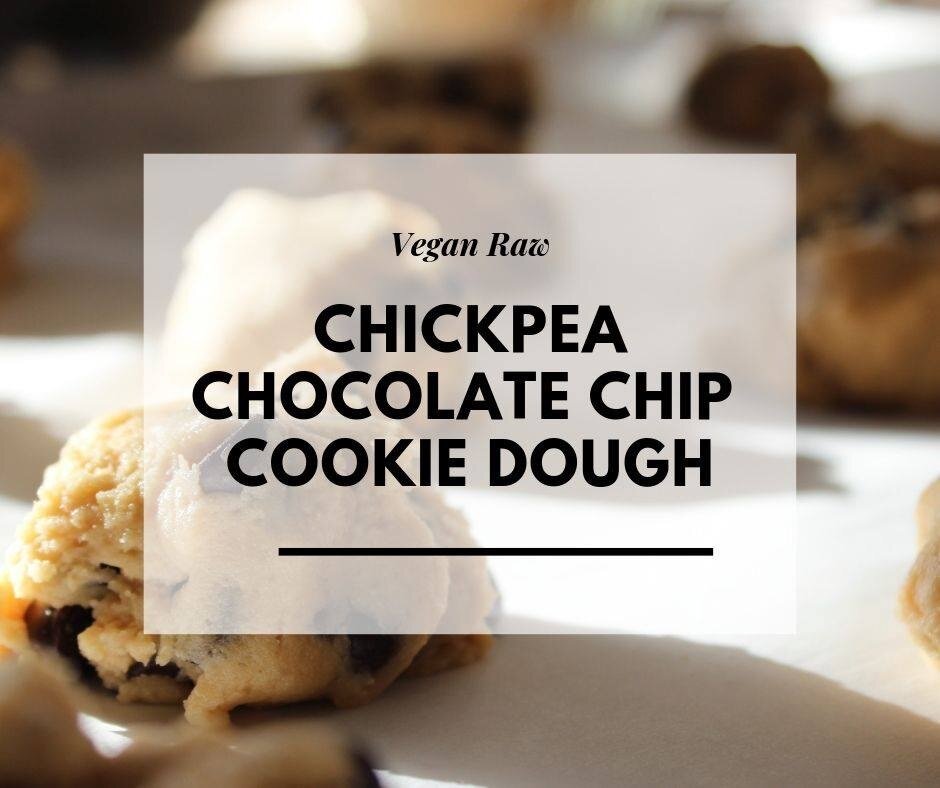
Chickpea Chocolate Chip Cookie Dough
Ready for a new dessert recipe?
🎉🙌This recipe sounds weird but it is so delicious – you would never guess that it is made from chickpeas!
🍪😋 This cookie dough is safe to eat raw because it doesn’t contain eggs.
🥣🥄 You can eat this straight from the bowl with a spoon, or make cookie dough balls from it, and store in the fridge.
👩🍳🥜One of the things that’s awesome about this recipe (besides the fact it’s healthier and delicious) is that you can experiment with it to make it your own.
Try swapping out the nut butter, adding some oats or flaxseed (start with ⅛ cup (12 g) and add more until you get the desired consistency) and using honey or coconut sugar instead of maple syrup. It’s so good!
🍪Chocolate Chip-Chickpea Cookie Dough
(makes 4 servings)
Ingredients:
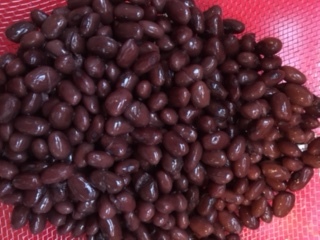
1 15-oz. (400 g) can of low sodium chickpeas, rinsed well and patted very dry
⅓ cup (80 g) natural almond or peanut butter (smooth, not crunchy)
¼ cup (60 ml) organic maple syrup
1 tsp vanilla extract
½ tsp salt
⅓ cup (60 g) vegan chocolate chips
Directions:
Place the first 5 ingredients in a food processor or high-speed blender and blend until well-mixed. Scrape into a bowl, and stir in the chocolate chips (option: melt the chips and stir in).
This will keep 3-4 days in the refrigerator, if it lasts that long!
Hope this finds its way into your life reeeeeally soon! ;-)
XO,
Tara